
PHOTOGRAPHY
BEHIND THE SCENES:
Digital Process
I started using a Canon Rebel T6 as I began my photography journey. This digital camera was a great introduction to photography and photo editing. With this camera, I learned photography fundamentals and how to use programs such as Adobe Lightroom, Photoshop, and Affinity Photo. I eventually upgraded to the Canon 90D, my primary camera of operation with which my photos have been captured. My favorite type of lighting to capture is natural light because of its dynamic range and ability to create unique shadows on faces and landscapes. For more controlled settings, I prefer strobe lighting in my images to bring out the detail and texture within my subject. Strobes also enhance the eye color and detail in my portrait work.
Editing Software
Affinity Photo, Designer, and Publisher were my introduction to graphic design in high school because of their affordable prices. I still use these programs for personal projects because of their easy-to-use layouts and tools. Even though these programs are inexpensive, they provide me with all the necessary tools to create great composite photos, logos, and layouts.

Capture One Pro is a recent addition to my photo editing workflow. I enjoy using this program for quicker edits and skin retouching. The advanced coloring tools make refining skin tones very easy. This program is also one of the best and easiest at converting 35mm negative scans into positives without additional plugins.
Adobe Photoshop is my go-to program for work with photographic 3D assets and mockups for graphic design projects. With the integration of generative-fill, I now use Photoshop for more experimental work using AI.
Lightroom Classic has a very clean workflow for batch editing many photos. Using Lightroom with Adobe Bridge allows me to create contact sheets for clients to proof. The advantage this program has over Capture One is the unlimited number of mask layers I can make for an image.
Affinity Photo 2
Capture One Pro
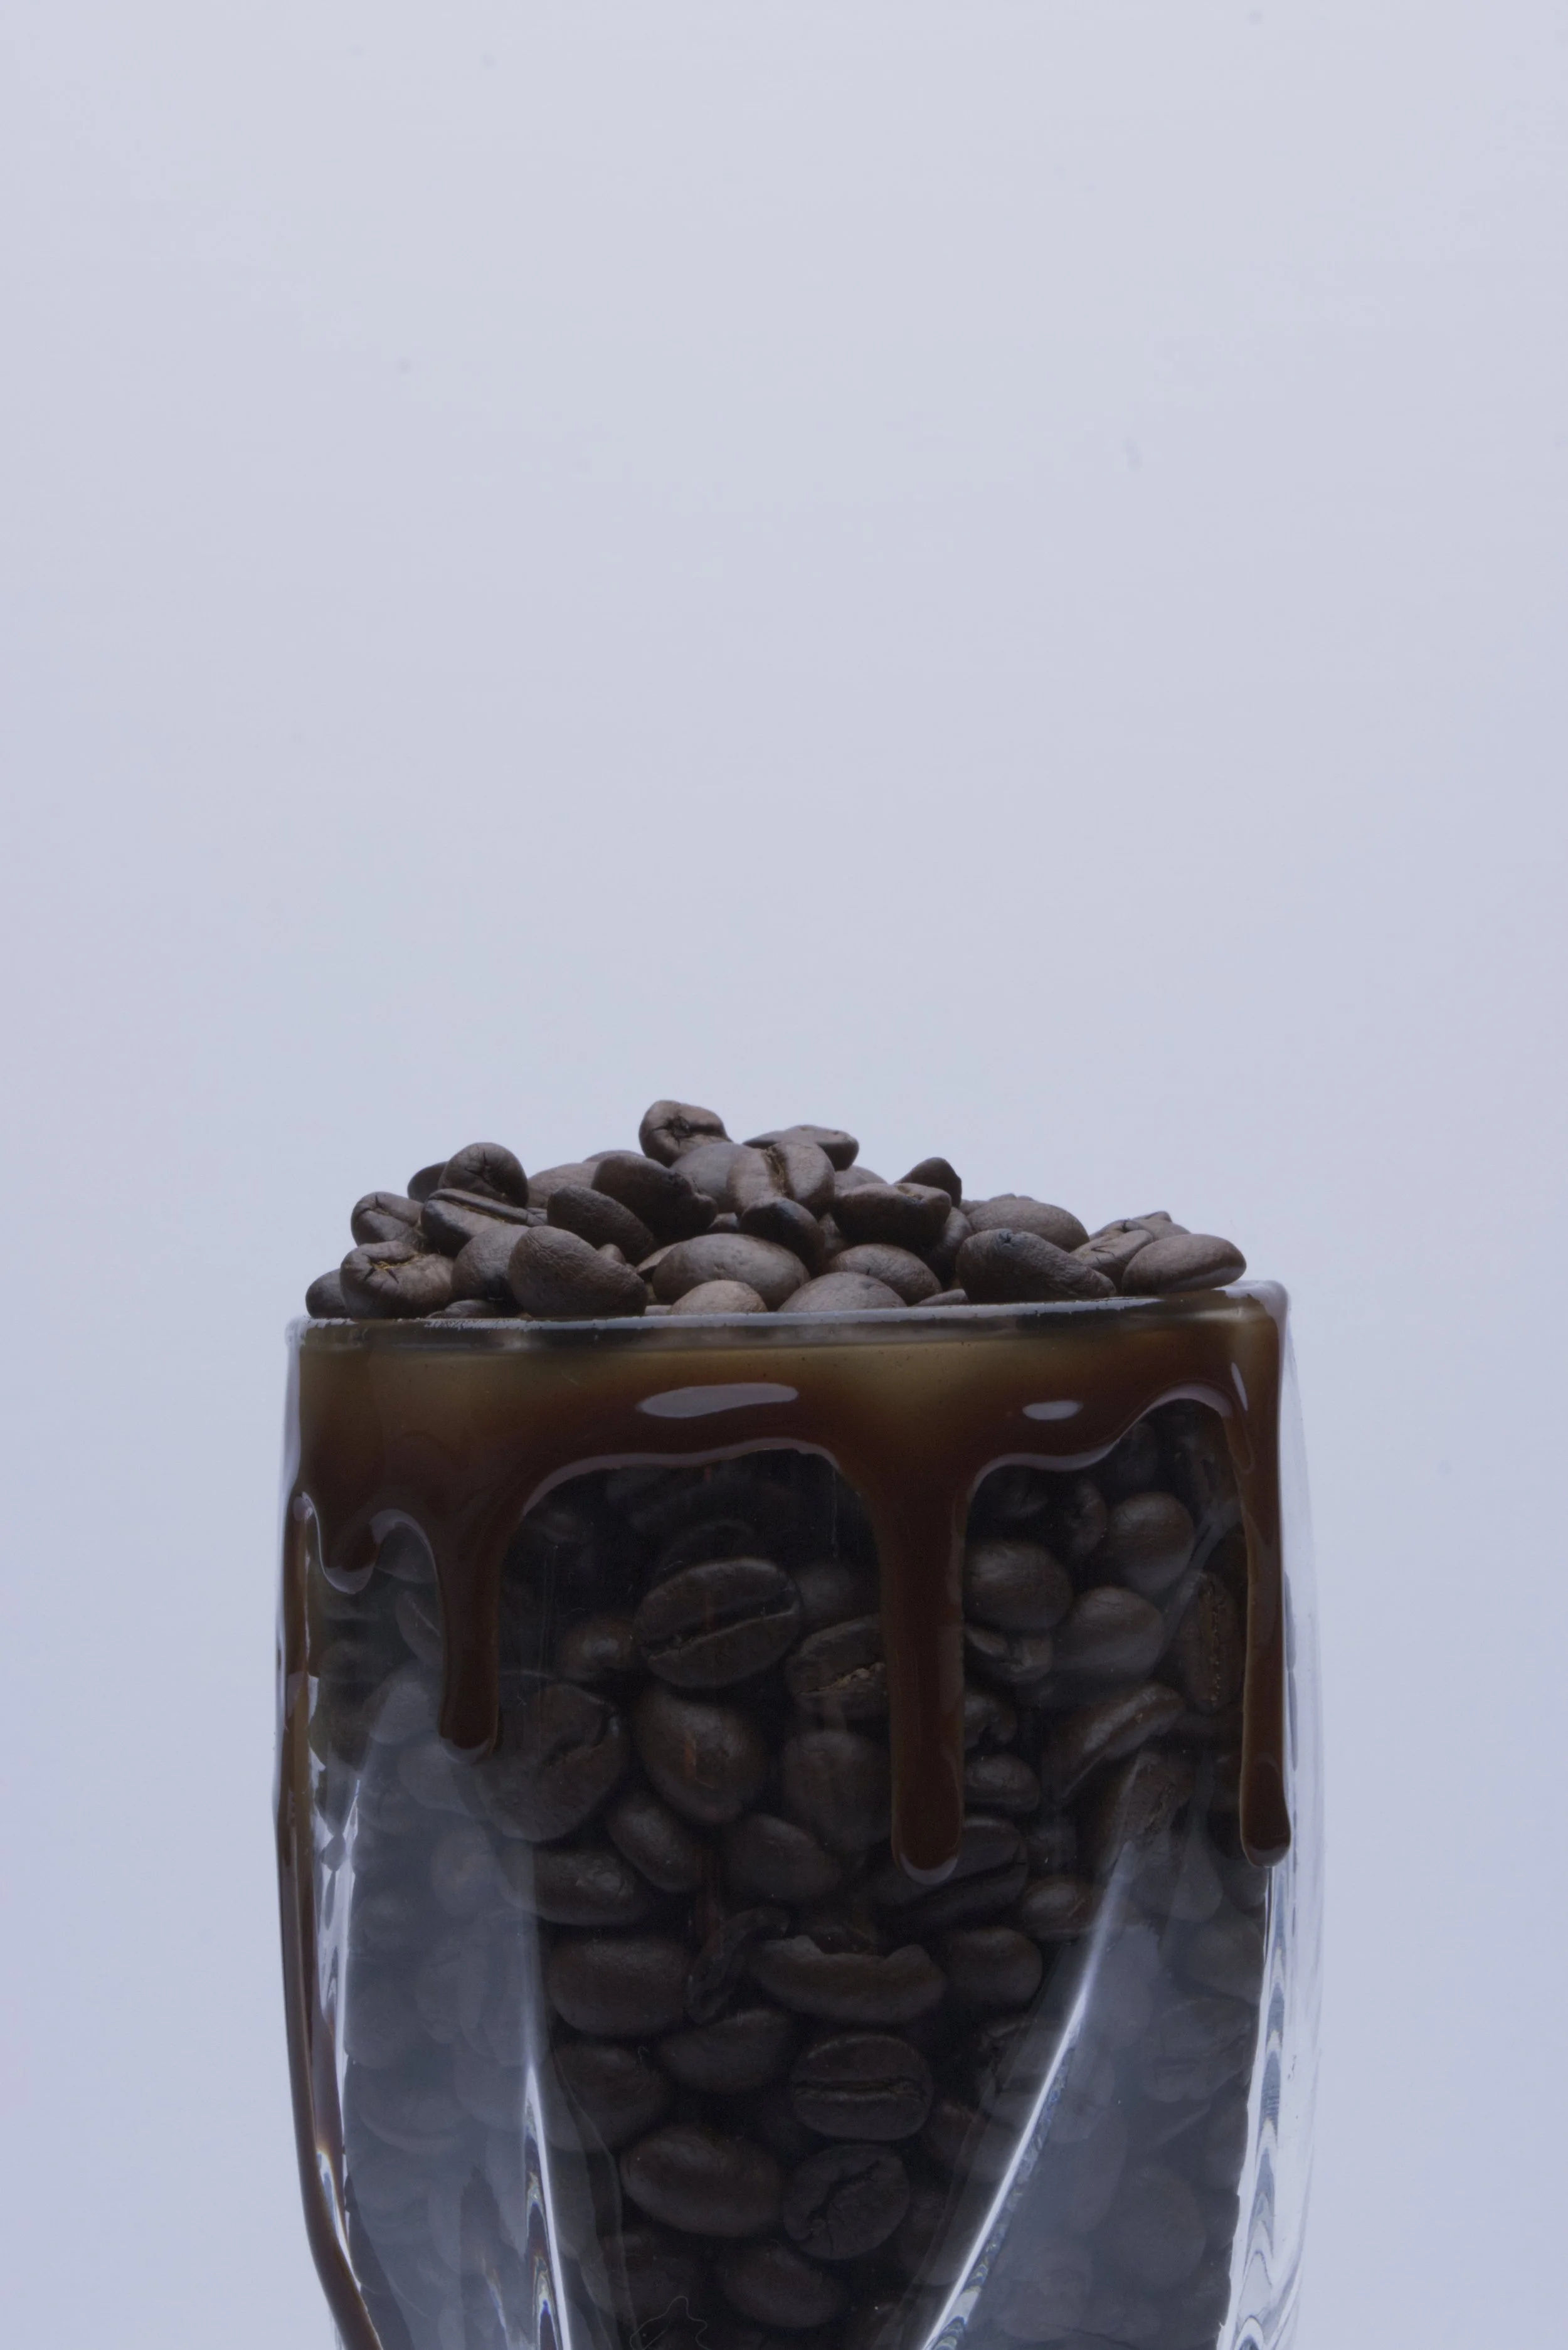
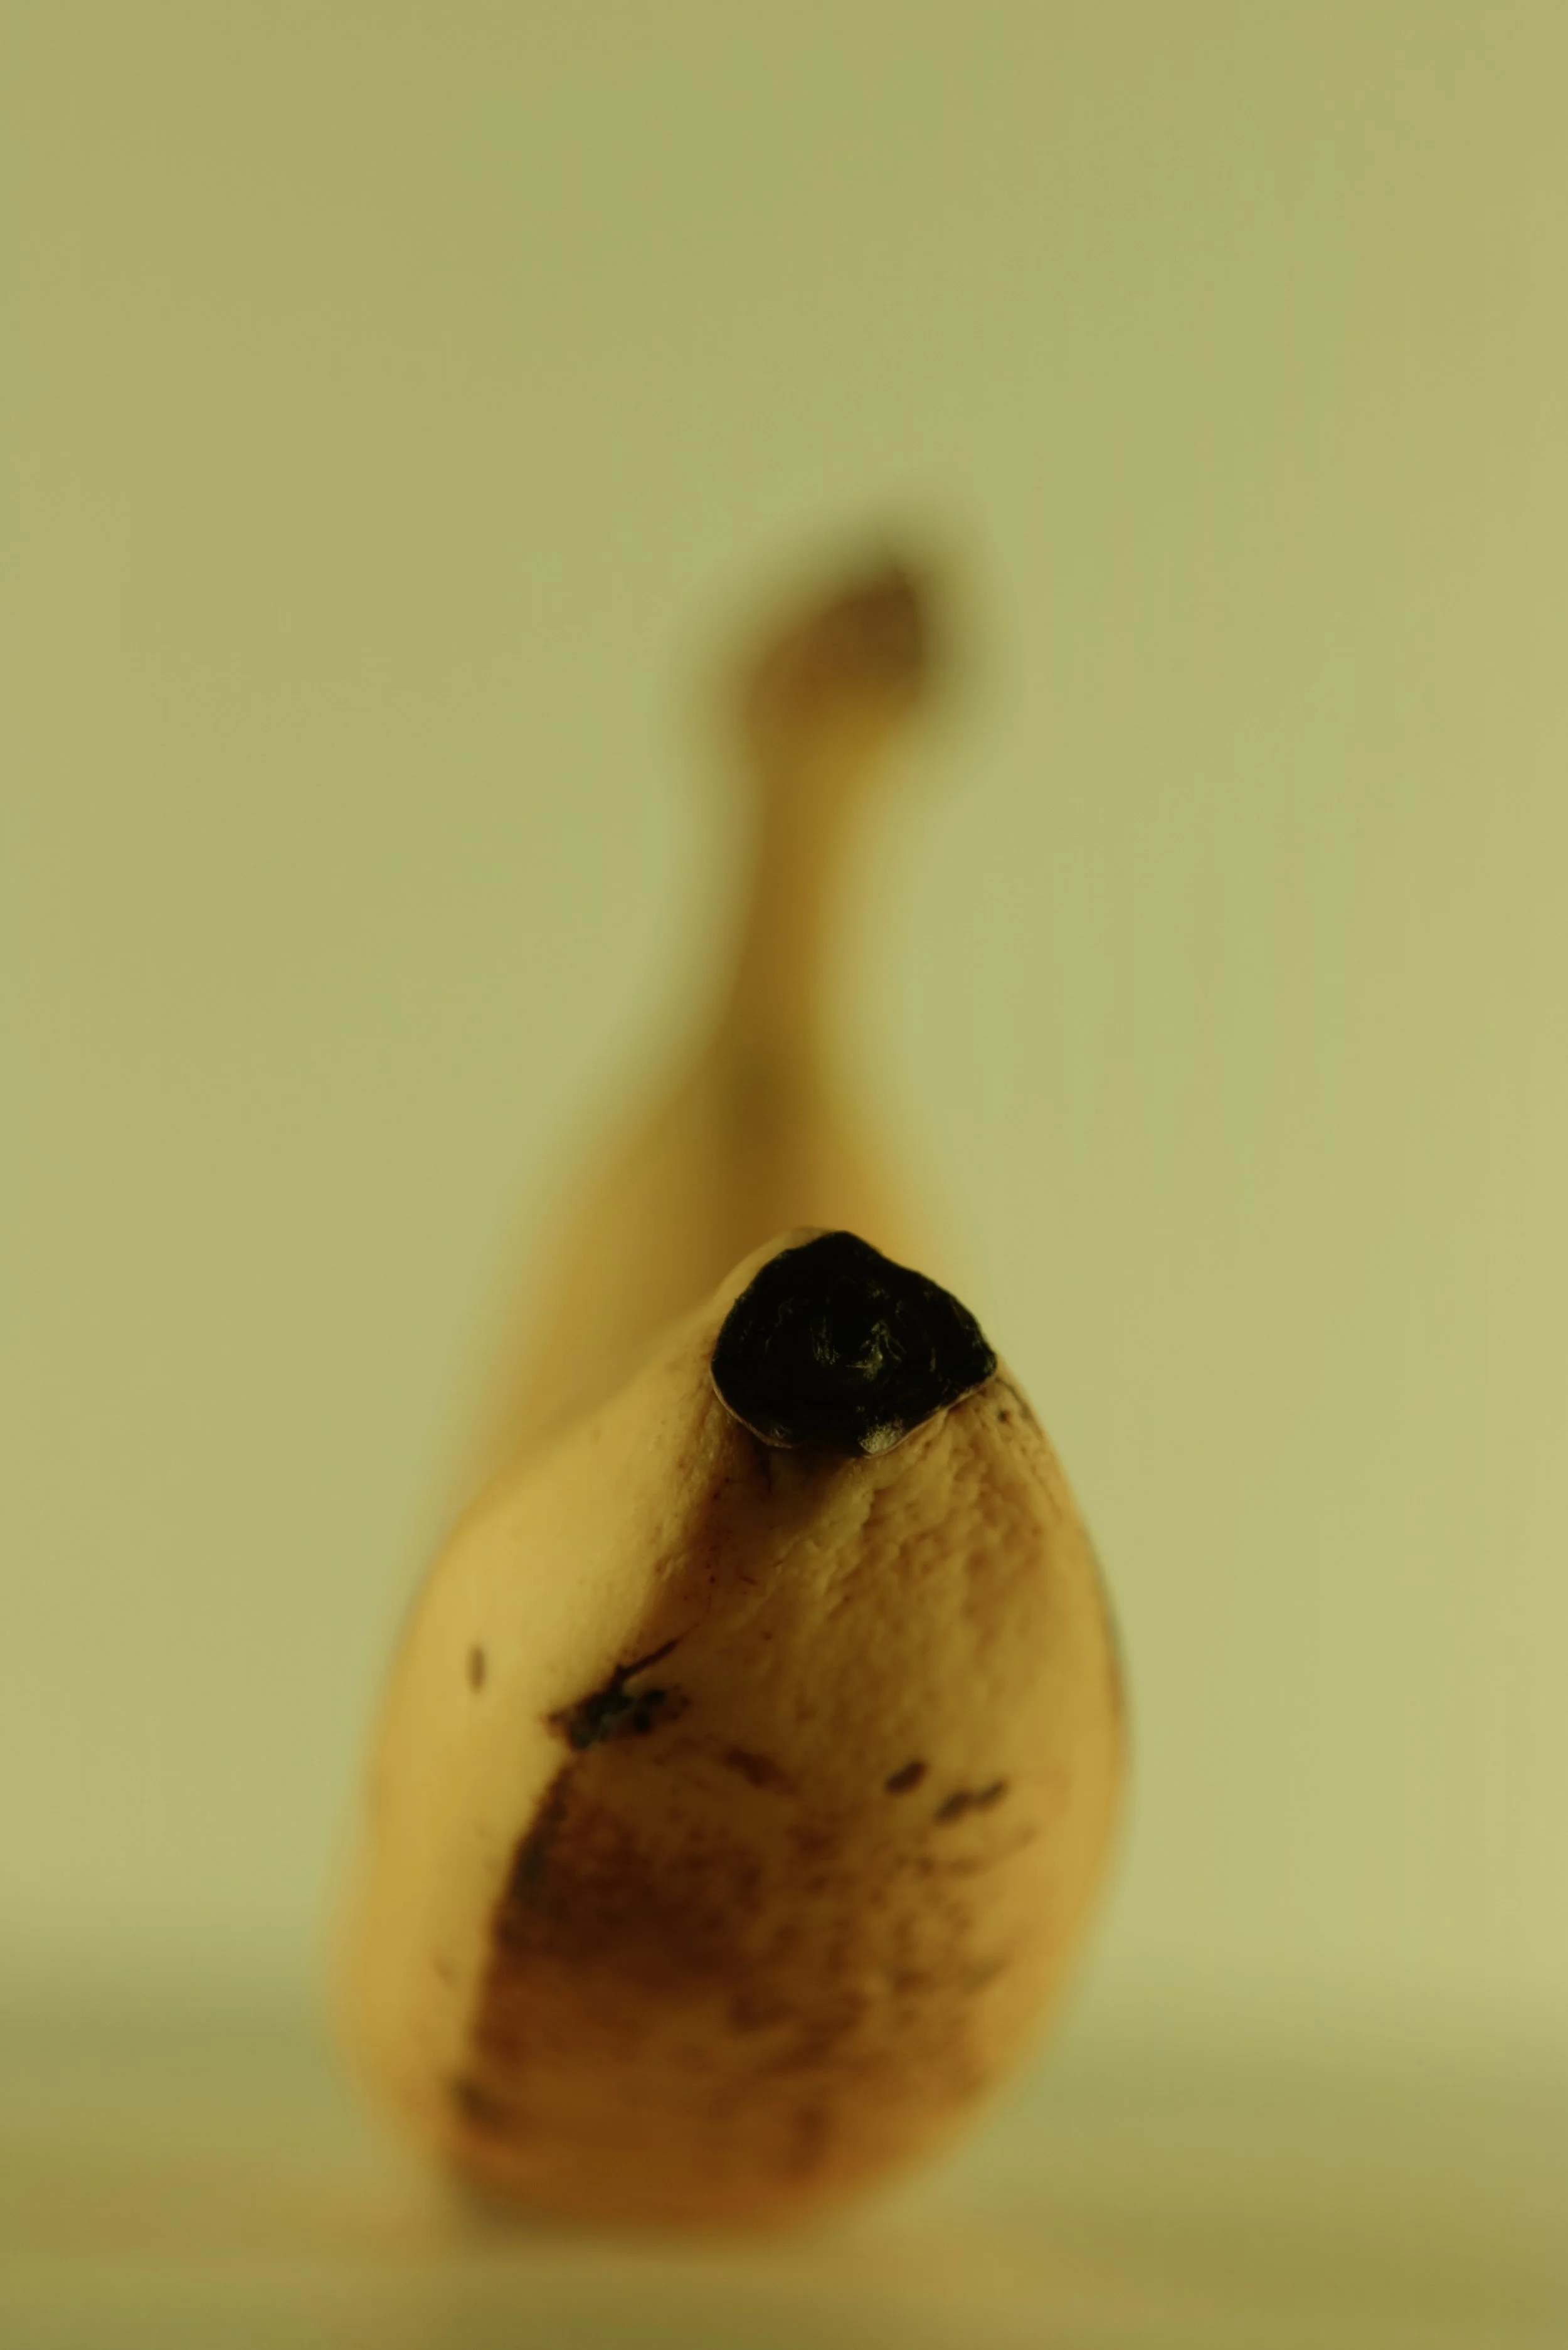
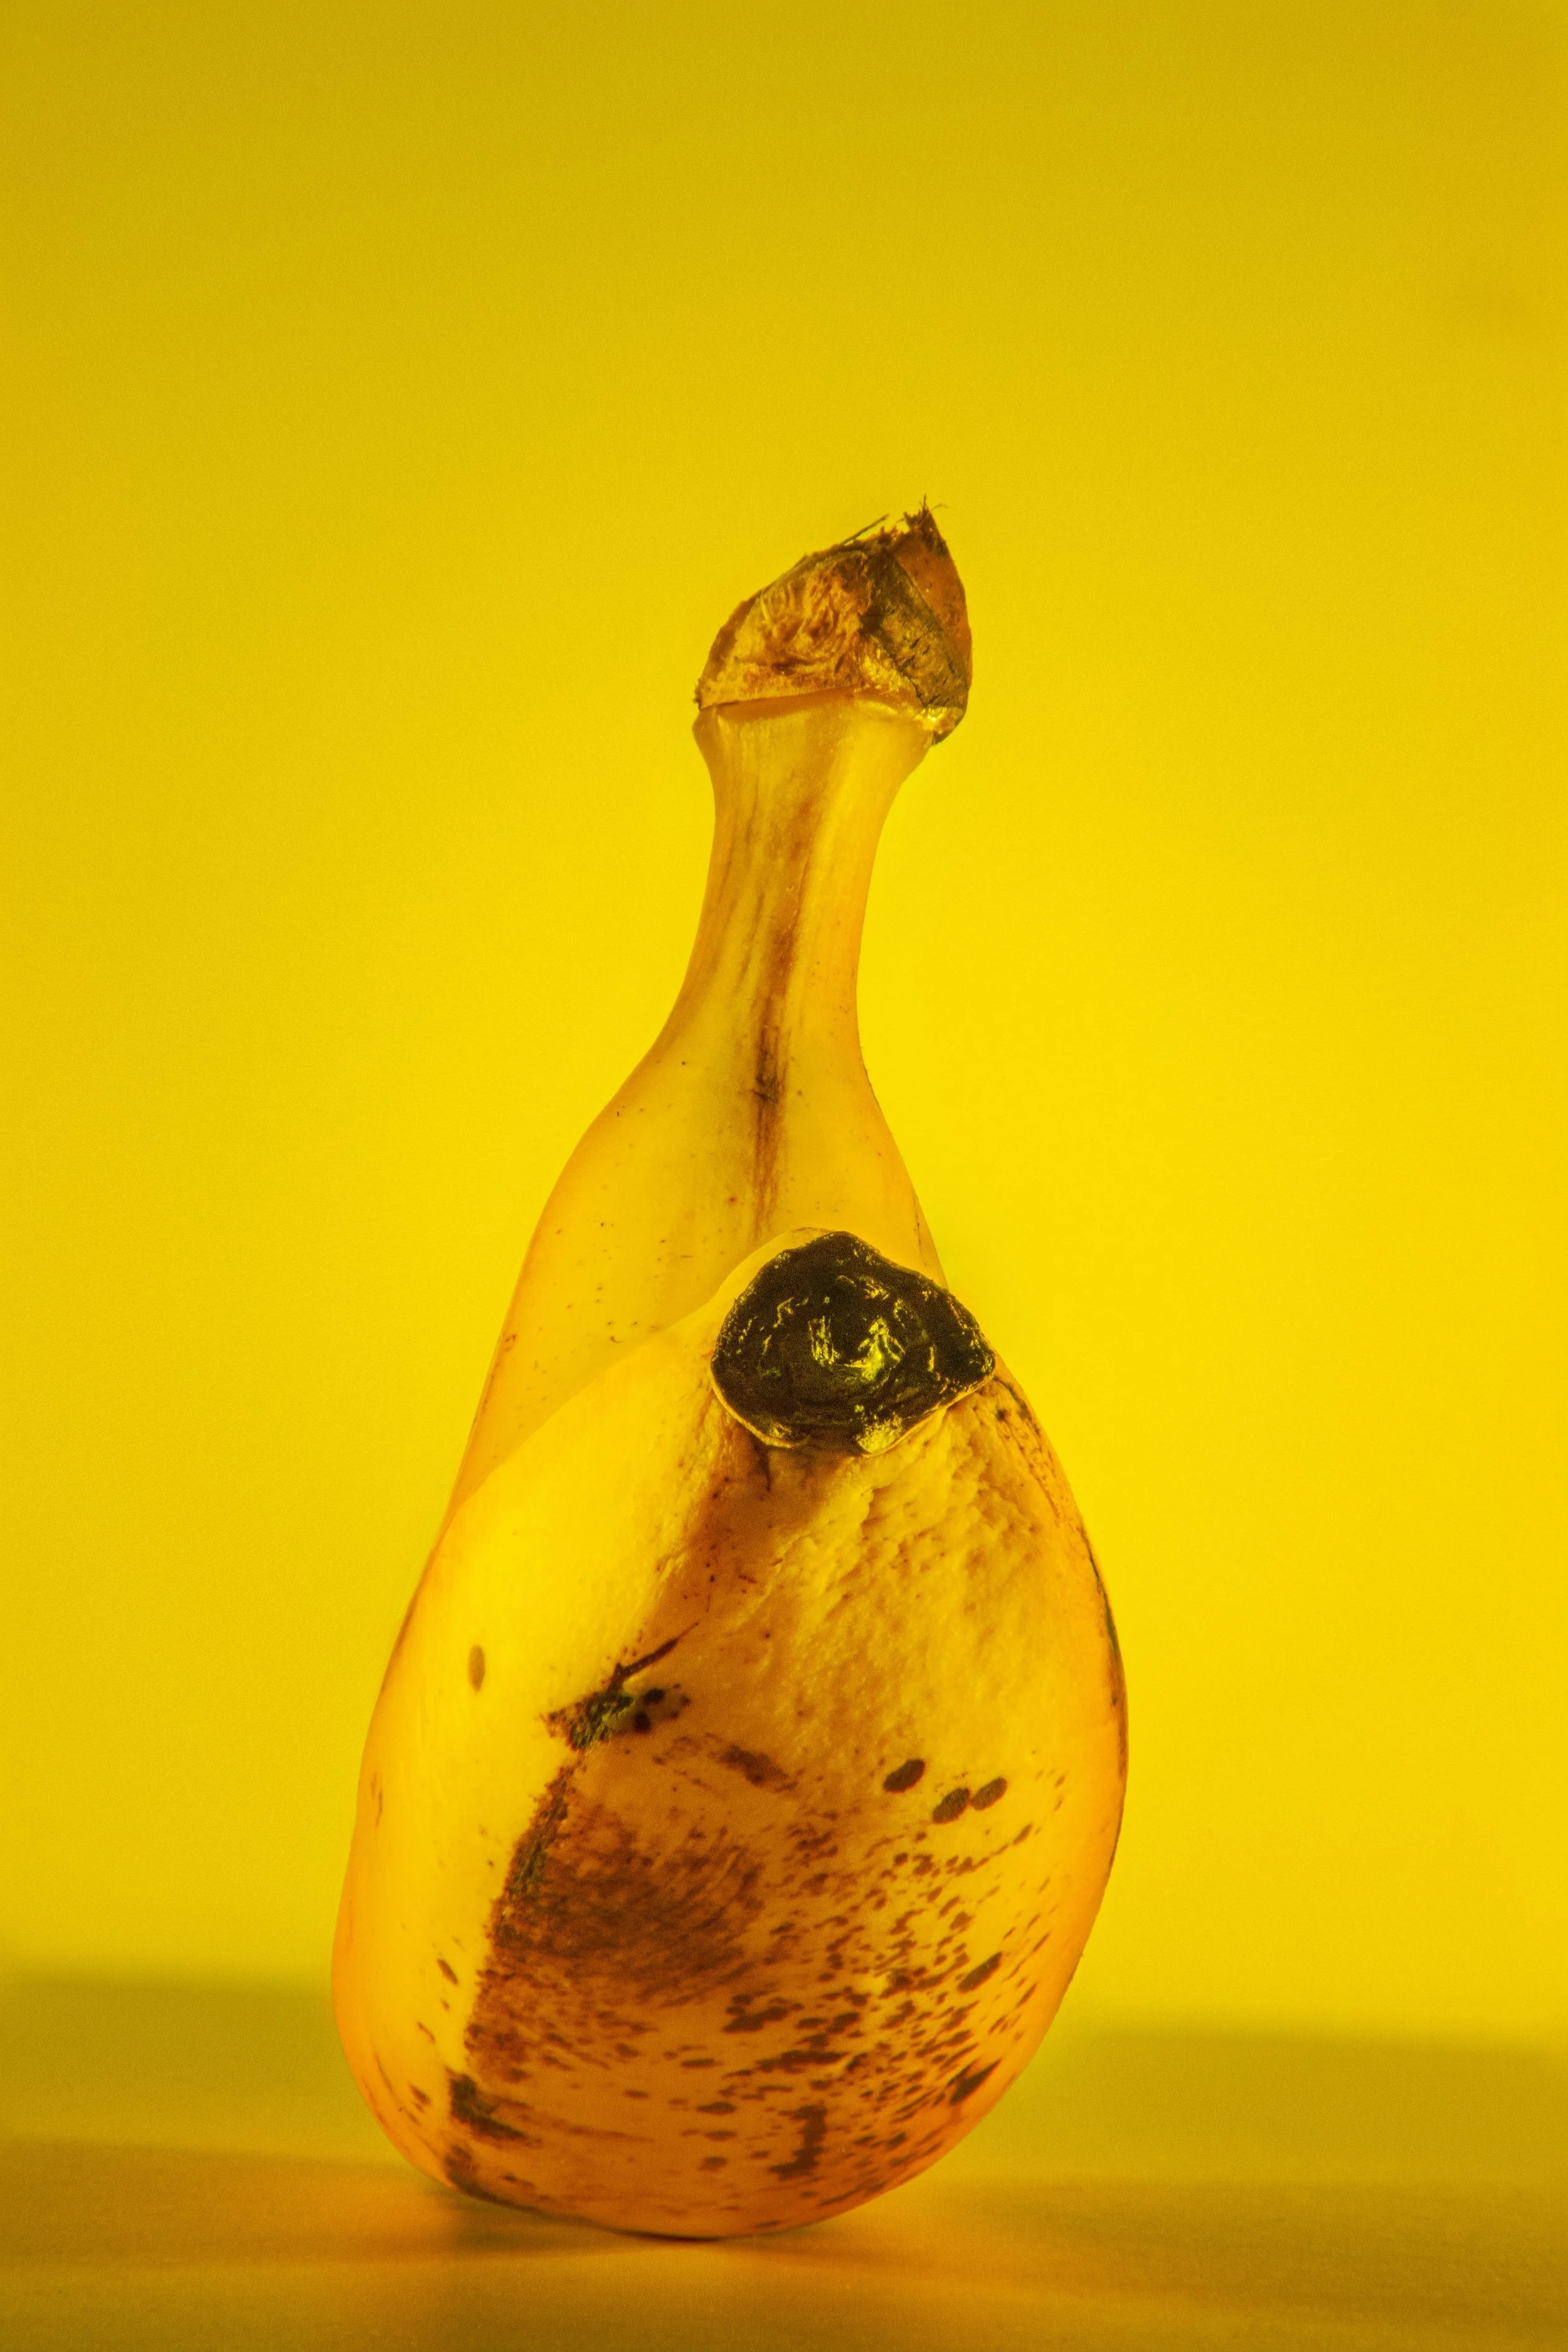
Before & After Work


35mm Film Process
I began working with 35mm film two years ago in my photography class at Iowa State University. Since then, I have found a real passion and appreciation for analog film photography. I currently develop color and black-and-white films in my home and scan them digitally at 10,000 DPI. The editing process for these images requires a more intense editing process which is why I began using Capture One Pro for converting the digital negatives to positives.
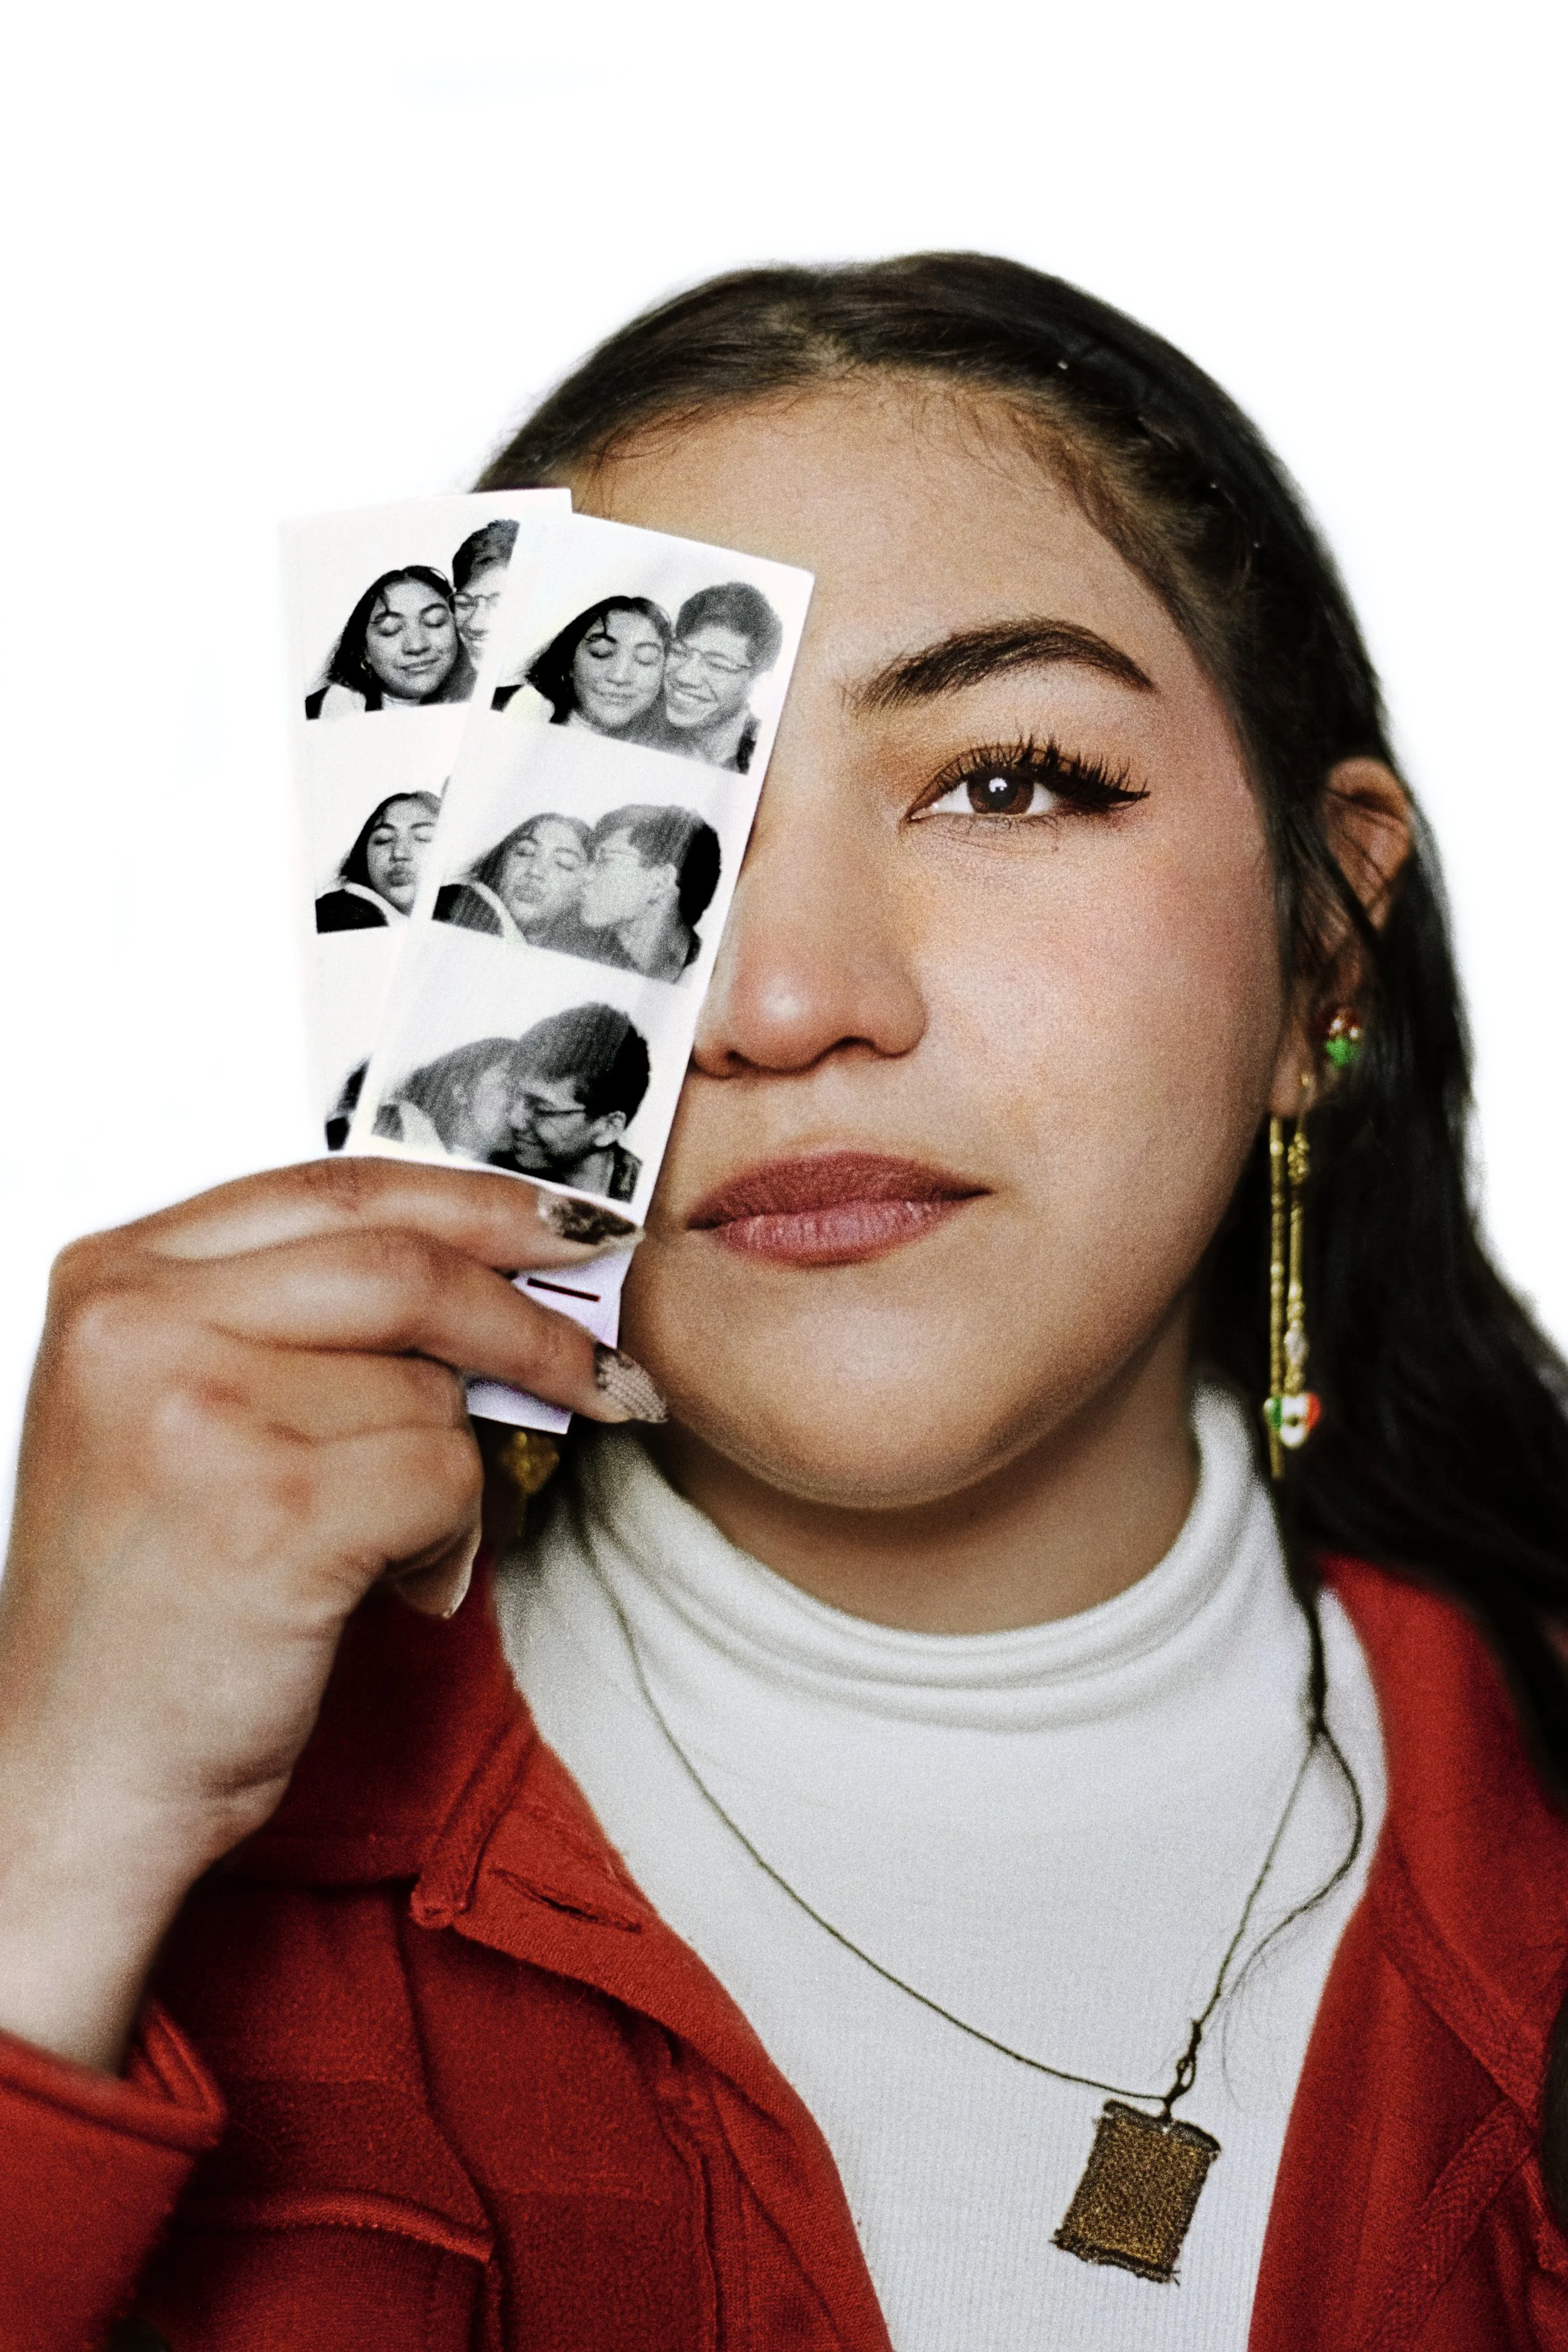
These black-and-white images were some of my first attempts at film photography. Using a single, continuous light source, I was able to capture strong highlights and deep black tones.


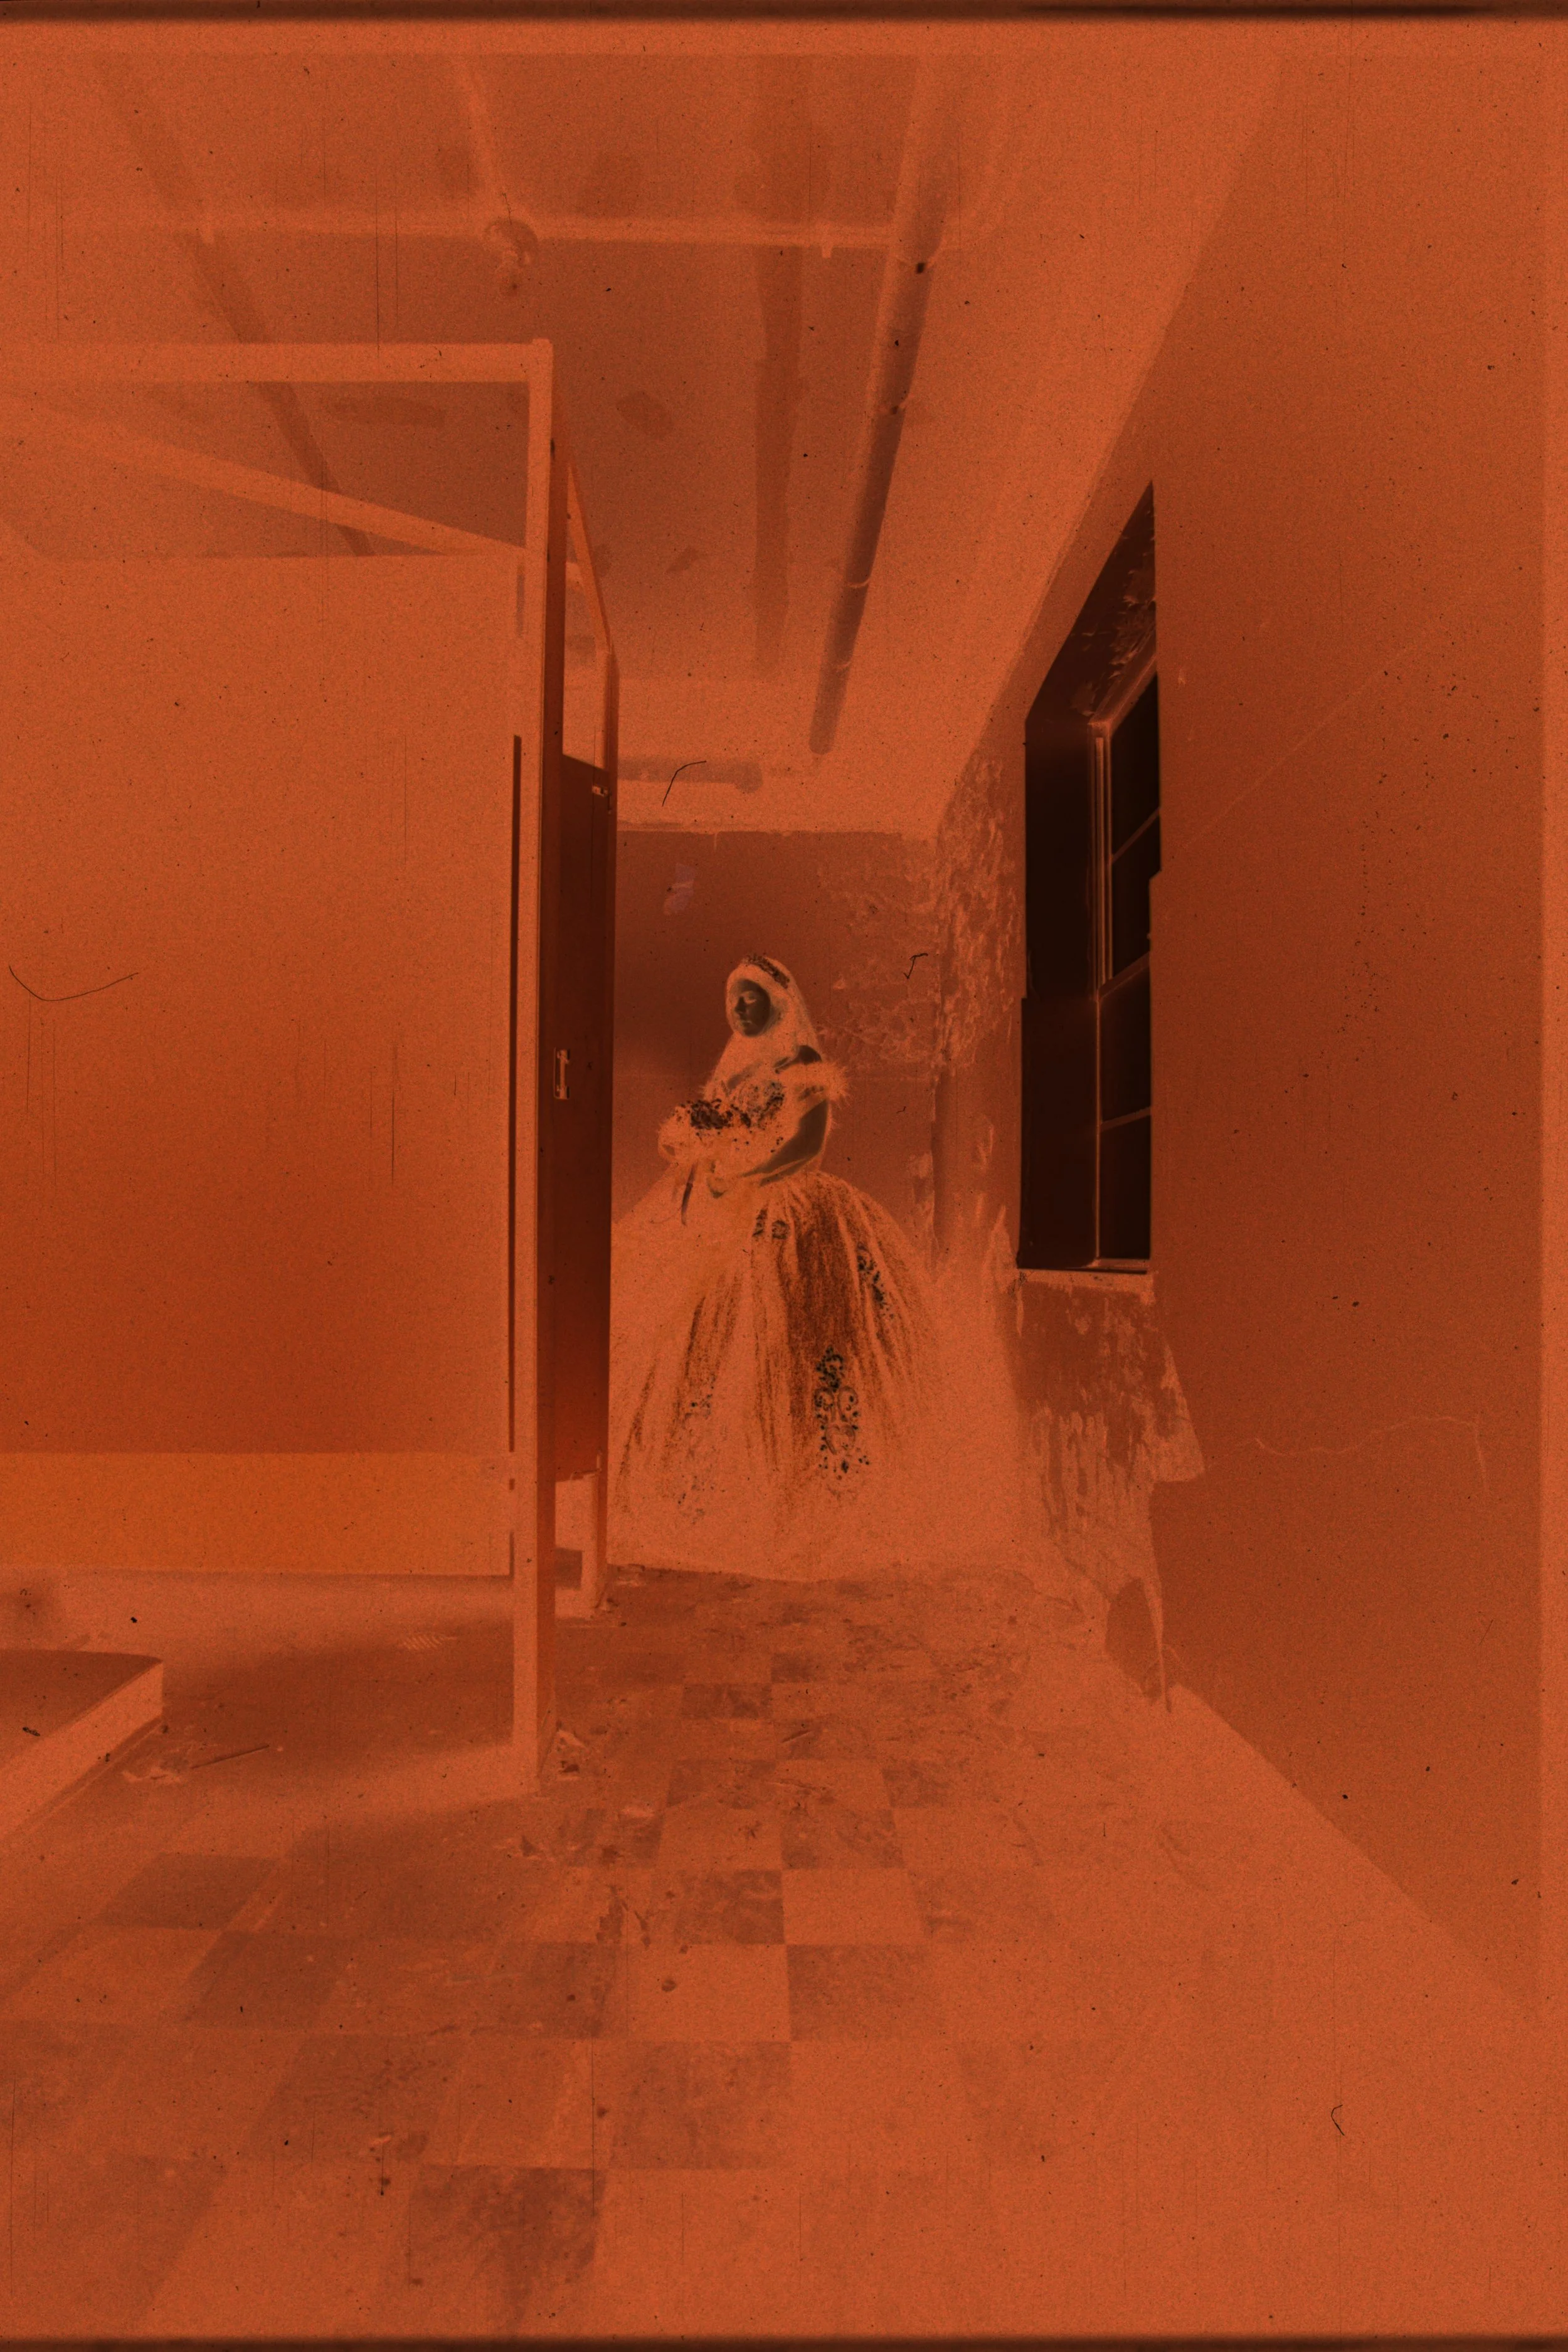


The above images were captured using Kodak Protra 400 with studio strobe lighting and natural light. Editing these photographs involves 3-6 hours of work for one final image. Because of the high-resolution scans, these raw scans are massive and filled with imperfections from the development process. This, therefore, requires imperfections to be manually painted out. After the cleaning process, different photograph elements are separated and edited independently. An example is the young woman in a blue dress. The dress’s colors and textures had to be masked out by hand so the blue color and texture of the room could have a distinct style that creates a contrast between the woman and the room.